High-stakes industries demand more than assumptions; they rely on precision you can prove. When assembling or building large structures, the smallest deviation can have far-reaching consequences. Laser trackers set the benchmark for accuracy in these environments, offering engineers the means to measure, align, and validate with absolute confidence.
But even the most advanced laser tracker is only as reliable as its calibration. This is why knowing how to calibrate a laser tracker for accuracy is essential. Routine calibration is a maintenance practice that safeguards your equipment and ensures it meets exacting standards required for mission-critical projects.
Calibration ensures a laser tracker delivers reliable, certifiable measurements by aligning its output with known standards. Without it, small deviations caused by wear, transport, or environmental changes can quickly compound into costly errors in large-scale projects like aircraft or shipbuilding. Regular calibration safeguards accuracy and compliance with strict industry regulations, but also protects safety, performance, and your organization’s reputation.
While often used interchangeably, calibration, compensation, and certification are distinct concepts in metrology.
Calibration is the high-level process of comparing a device’s measurements to a traceable standard. It tells you how accurate your device is. For example, you might use a reference artifact with known dimensions to check if the laser tracker measures it correctly. The result is a report detailing the tracker’s performance against that standard.
Compensation is an adjustment or correction performed on the instrument itself. Laser tracker software includes compensation routines that refine the device’s internal model to correct for geometric imperfections. Think of it as fine-tuning the tracker to perform at its peak capability. Compensation is a key part of the overall calibration process, but it is not the entirety of it.
Certification is the formal documentation that proves an instrument has been calibrated and meets specific standards. A certificate of calibration provides evidence that the device’s measurements are traceable to a national or international standard, such as those maintained by the National Institute of Standards and Technology (NIST). Quality audits and contractual obligations often require this documentation.
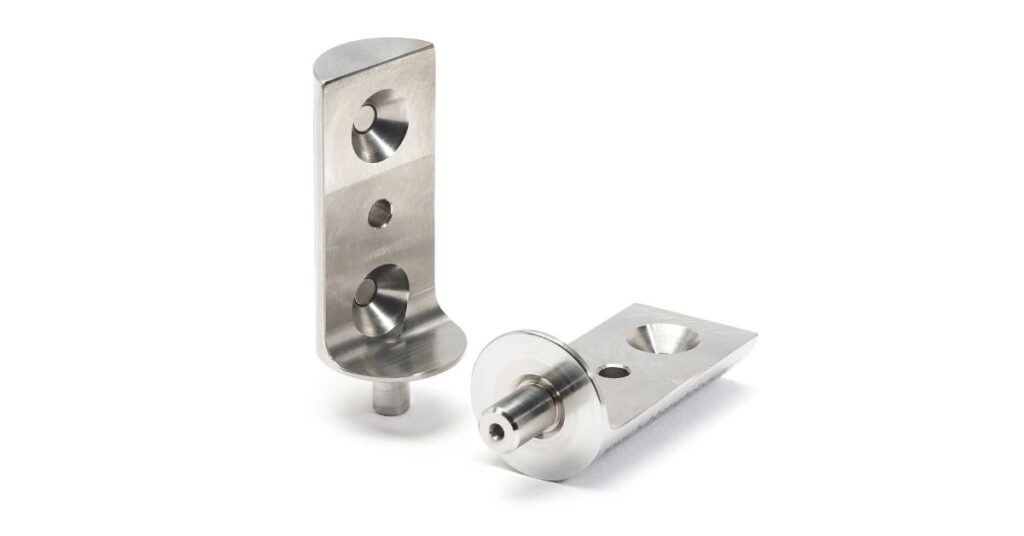
Thorough preparation is crucial for a successful calibration. Before you begin, gather all necessary equipment. This includes the laser tracker and its controller, a stable tripod, the appropriate spherically mounted retroreflectors (SMRs), and any required reference artifacts. Using high-quality accessories, such as precision .5 SMR mounts, is important for obtaining reliable results.
Next, confirm that the laser tracker’s software is up to date. Manufacturers frequently release updates that improve performance and refine compensation routines. Finally, review the original equipment manufacturer’s (OEM) specific guidelines for calibration. While the general principles are universal, each tracker model may have unique procedures and requirements. Adhering to these instructions is essential for a valid calibration.
This process involves several sequential stages, each vital for achieving a valid and accurate result.
Before calibration, ensure the tracker is both thermally stable and properly positioned. Power it on and allow 30–60 minutes for the internal components to reach operating temperature to minimize thermal drift. At the same time, set up the tracker in a controlled environment free from vibrations, direct sunlight, and considerable temperature fluctuations.
Secure the tracker on a heavy, stable tripod to prevent movement, and aim for consistent ambient conditions similar to where you use the tracker. Together, these steps create the stable foundation required for accurate calibration.
Once the tracker is warm and stable, initiate the system’s compensation routines through the control software. This is referred to as a “self-compensation” or “field check.”
The software will guide you through a series of measurements, typically requiring you to place an SMR in various positions and orientations around the tracker. This process measures and corrects for any geometric errors within the tracker’s mechanical axes, refining its accuracy across its full measurement volume.
After compensation, the next step is to verify the tracker’s performance against a known, traceable standard. This is the core of the calibration. A common method involves using a calibrated scale bar or another reference artifact with certified lengths.
Measure the artifact at multiple positions and orientations throughout the tracker’s working volume. Compare your measurements to the artifact’s accredited values. The differences, or errors, will show the tracker’s true accuracy.
Meticulous documentation is the final step. Record all relevant information, including the date, the technician’s name, the tracker’s serial number, and the environmental conditions (temperature, humidity).
Log the results of the compensation routines and the verification checks against the reference standards. This report becomes the official record of the calibration, providing traceability and a baseline for future performance checks.
While routine field checks and compensations are essential, they do not replace the need for professional, laboratory-grade calibration. You should seek service from the OEM or an accredited calibration laboratory in several situations:
A professional lab uses superior-grade equipment in a highly controlled environment to perform a more exhaustive calibration, providing a NIST-traceable certificate.
Maintaining your laser tracker’s accuracy is an ongoing commitment. Beyond regular calibration, several best practices can help preserve its performance.
By integrating these practices, you extend the reliability of your instrument between formal calibrations. Knowing how to calibrate a laser tracker for accuracy and when to seek professional service protects the integrity of your projects and upholds the precision standards your work demands.